My Pages

Saturday, 9 April 2011

Server-Side - Introduction to PHP


Introduction

Last week we started to discuss server-side technologies specifically services which when working together provide the necessary building blocks to create a web application. We installed and configured XAMP which is one such tool which incorporates Apache web server to publish web pages, PHP to script logic embedded into web pages and MySQL to store the data generated by the application. This week’s main focus will be server-side scripting which involves the creation of scripts which execute on the server to ;
  • Generate dynamic web pages
  • Interface to the database or other data sources
The need for dynamic web pages has been with us for quite some time and in the early days this was handled from server-side by developing C programs, Perl or Shell script using CGI (Common Gateway Interface). These programs were executed by the operating system of the web server as opposed to a server-side language such as PHP which is interpreted by the web server.

There are numerous interpreted and compiled languages which are used to create server-side code, such as;
  • CGI / Perl
  • Cold Fusion
  • C Server Pages
  • ASP (Classic)
  • ASP.NET
  • Java Server Pages
  • Python
  • Ruby on Rails
  • PHP
  • Cache Server Pages
These languages were created and then improved over time as new versions were released to adhere to emerging requirements in web applications.

Throughout this blog our main focus will be on the PHP scripting language which stands for PHP Hypertext Preprocessor. PHP is a free scripting language which means that it’s source code can be customisable if need be. Platform independence makes PHP a very flexible scripting language . PHP is also considered as a glue language since it can be used to connect and translate software components.
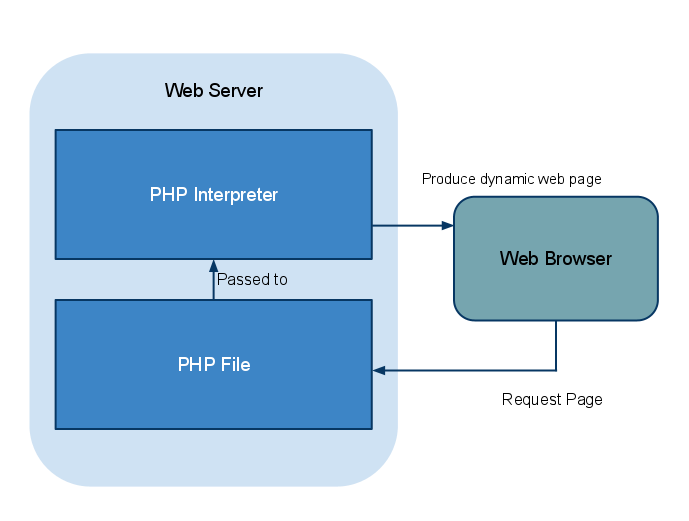
Three components are needed for PHP to work;
  • PHP parser which is a program usually in the form of CGI or server modules which interpret code.
  • Web Browser
  • Web Server
When a user asks for a web page which is scripted in PHP the PHP file on the web server is located and passed through the interpreter which executes the php code. The result is displayed on the user web browser. A PHP file is created by creating a file with a .php extensions. PHP code is written between and open tag <?php and a close tag ?>. PHP is a loosely typed scripting language which means that a variable’s data type is inferd during execution and variable do not need to be declared before used. In style PHP is very similar to C based languages and there are various ways in which the same code can be developed.

Task Summary


This week’s lecture focused on the basics of PHP syntax and constructs and some built in functions. Throughout this blog entry the following tasks will be demonstrated;
  • Verify that PHP is working on the web server
  • Create an associative array of user names and passwords and list the entire array in a table
  • Difference between the echo() and print() functions


Testing PHP on web server


Testing PHP on a web server requires one to create a simple syntax in a PHP file, place the file in a directory which is visible to the end user and then browse for the file. In this case I used an echo function which either prints a literal or a value passed from a previously assigned variable to the screen. To achive this first I created a php file and placed it in a folder within the document root of the apache web server;

Path to file within the document root:
\GregDevPortal\PHPIntro\phpIntro.php

Within the created file I placed an echo function and a literal to print on screen. 


If the PHP module is not installed then an error would pop up on the screen. Since PHP is installed on this machine the following result was displayed.



Create an associative array of user names and passwords and list entire array in a table


PHP is very versatile when it comes to arrays. An array in PHP can have one from three forms;
  • Numeric Array: This array is the conventional array which uses numerical indices
  • Associative array: Each key within this array is associated with a value.
  • Multidimensional array: An array with contains more than one array


An array in php is initialised like any other variable in php such as $arr. In the case of an associative array the array is then filled with items in one of two methods:

Method 1



Method 2


Creating an array of user names each with its respective password like shown in the methods above takes care of the first part of this task. After creating the array we need to iterate through the array and print the user name and password. The user name and password will be shown in a tabular format and this can be achieved by using one of the PHP printing functions print() or echo().

By using either one of the functions HTML can be written on screen while iterating through the array to get the details. In this case with each iteration an html table row will be creating wrapping the user name in the first cell and the password in the second cell. Once the array is created the array needs to be iterated and sent as HTML to the browser. PHP is very rich when it comes to traversing arrays. In this case since we have an associative array we need both the key and the value from the array. We will traverse this array by creating a foreach loop and with each iteration of the $usrArr we will be creating two variables whose scope would be code block within the loop. By using the associative operator the $key variable will hold the user name while the $value will hold the password.



With each iteration the variables are included in the string literal, the PHP parser recognises the variables and the PHP interpreter prints the respective values for each.The end result would be like shown in the image below.



Difference between the echo() and print constructs


Both of these constructs are used by PHP developers to output data to screen. There are slight differences between the two functions and using one or the other comes down to personal preference most of the times. Both of these language constructs are not considered as functions since parenthesis are not necessary when coding.

One difference between the print and the echo constructs is when it comes to the outcome of the function. The print construct can return a boolean value which can be particularly helpful when a developer wants a status at a certain stage during an execution of a script. Even though print is not considered as a function it can behave like one. 



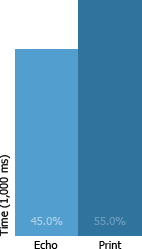
Print’s execution time is slightly slower when compared with than that of echo. This was tested by iterating through a large array and time execution time for each construct separately. 


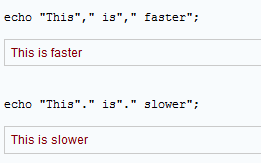
The echo construct is especially faster when using a comma to parametrise strings instead of a period to concatenate strings together.


Conclusion


PHP is fast, flexible and relatively easier to learn when compared with other compiled languages such as Java or C#. One should also take note on pitfalls that could be encountered when coding with PHP. Due to the versatility and flexibility that PHP provides it’s very easy to write bad code with PHP thus I find that keeping up with standards and coding patterns help me in developing secure and performant applications especially with PHP.


Thursday, 31 March 2011

Server-Side - XAMPP

Introduction


In the previous posts we discussed a lot of web technologies but our main focus till now has been the client-side e.g. Javascript, HTML ,CSS etc. This blog entry will reflect the introduction to server-side languages and technologies more specifically web servers. Server-side development and technologies focus on the tasks performed by the server in the client-server model. To better comprehend server-side technologies and the need for such a concept we will first go through a brief introduction of the client-server architecture.

The client-server paradigm is a model which is composed of two main entities;
  • the server which provides services and listens to client requests
  • the client which initiates requests to a service and renders the response received from the server.


The client-server architecture can be found in a lot of functions in today’s technologies such as email exchange, web browsing, database access, file transferring, video and audio streaming, remote . For each function server side software is needed to respond accordingly.

  • Mail Servers e.g. Microsoft Exchange Server
  • Database Servers e.g. MySQL, MSSQL, Oracle
  • Web Servers e.g. Internet Information Services, Apache


When the client makes a request that request according to the type of function being performed uses a protocol to communicate with the server over the network. A protocol is a set of rules by which the client-server model must abide for a successful communicative session. Each of the function listed above uses a protocol such as email exchange uses SMTP and the web browsing uses HTTP over TCP/IP.

The web is built upon the client-server model and with each site you visit or request the client (Browser) requests the server (Web Server) and the server responds by sending HTML through the HTTP protocol. A web server can be described as the software which delivers content to the browser but most web servers today provide more services such as server-side scripting and file transferring. Server-side scripting allows for developers to develop how behaviour on the server which are triggered when certain events take place. This thought brings us to the need for server-side development. Through server-side scripts instead on having the same page posted on the screen by the server, content can be dynamically changed or updated due to processing taking place on the server between requests. Server-side scripting is particularly useful since it allows web site and web server implementation seperate.

Now that we have covered some basics on web servers the next step is to mention the two leading web servers which make up a good 70% of the market share according to statistics.

  • Apache
  • Microsoft IIS (Internet Information Services)


Till now we have discussed servers having different functionality such as database servers or web servers. The truth is that most web applications today make use of more than one type of server for example a Forum makes use of a web server to provide content and a database server to store forum entries. Also from experience installing a web server such as Apache is not straightforward and is prone to a lot of heuristic problem solving. The open source community more specifically the Apache Group has taken a step forward on this matter by packaging distributions consisting of Apache HTTP server, MySql Database (Other DBMS are available), and interpreters for scripts such as PHP and Perl. XAMPP is one such distribution.


XAMPP is an acronym which stands for X - Cross Platform, A - Apache Web Server, M - MySql Database, - P - PHP, P- Perl. As the X in the acronym shows XAMPP is available for different platforms such as Microsoft Windows, Linux, Solaris and Mac OS X. Each platform has it’s respective distribution. Historically speaking XAMPP is a by product of previous distributions be the Apache Group such as WAMP (Windows) and LAMP (Linux).

Some advantages to XAMPP are;

  • Cross platform portable and relativley small in size
  • Contains a number of useful packages
  • Free


Task Summary


This task is an introduction to server-side technologies and so the task assigned relates to a walk through of the XAMPP installation. I had prior experience with other distributions such as WAMP and is looking forward to try XAMPP. Here is an outline of the given tasks;

  • Download and install XAMPP
  • Test the following functions
    • Control Panel
    • Check that the http and https services work
    • Ftp service
    • Get an XAMPP security report
    • Get a phpinfo() report
    • Get a visitor report
    • Test the default guestbook
  • Add an image and a style sheet C:\xampp\htdocs\index.html and test it out
  • Test web server from another computer
  • Attempt to replace index.html and other files using an FTP client on another computer
  • Blog about tests performed. Any errors or problems encountered


Dowload and install XAMPP


Before even downloading and installing XAMPP I would like to give some specifications on the current environment which will be used throughout the tasks. The entire infrastructure is composed of the server (192.168.1.101) connected to a router which has a static IP set to 213.165.170.84 and the router connected to a modem which in turn is connected to the internet. As client computers which will be used to test the web server implementation we have one LAN connected client (192.168.1.104) and another client connected to the web.

Downloading XAMPP

Now that we have the environment in place the next step would be to download a XAMPP distribution for Windows from Apache Friends and the release which we will be using for these tasks is 1.7.4.

Installing XAMPP

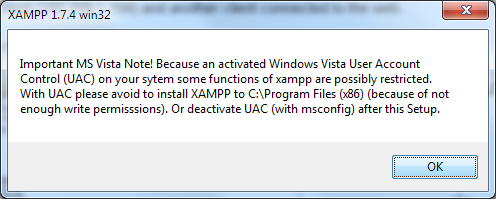
Once the installer has been downloaded the installation wizard was initiated. After the language has been chosen a message box popped up which stated that due to UAC (User Account Control) some functions of XAMPP may be restricted. 


This error is the result of lack of permissions in the folder C:\Program Files. This issue can be resolved by either raising the privileges in the folder or by disabling the UAC from the service management console. To disable the UAC the following steps have to be undertaken ;

  • Type and run msconfig from the start menu search box
  • Go to “Tools”
  • Select “Change UAC Settings”
  • Launch
  • Throttle the slider to “Never Notify”
  • Restart machine


The installation was restarted and another message box popped up which stated that if the UAC is enabled at a future date this can result in lack of functionality. The path selected for the implementation of XAMPP was c:\xampp and in the next screen all the services in the service section were checked. 


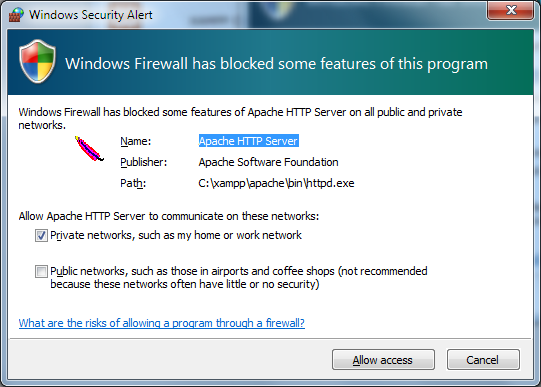
Once the installation was completed the Control Panel was launched. This triggered a mechanism in the windows firewall listener to open the ports needed by the http daemon.


This event allows adds an outbound rule in the firewall to allow access, this can be at a Domain, Home or Public level. 


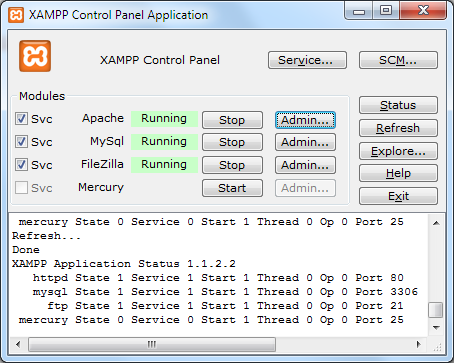
The control panel shows the different services which are running and also gives the server administrator the power to stop or start services as well as install or removing the services altogether.

Testing Functions


Now that XAMPP has been installed the next step is to test that the services running on the server are accessible and functional.

Control Panel

At this point we have already gone through some of the functions provided by the control panel.
The Explore button takes us to the folder were XAMPP is installed. This folder C:\xampp among other things shows us the exe and batch files responsible for starting and stopping the installed modules. By running \xamp\xampp-control.exe the Control Panel is launched.
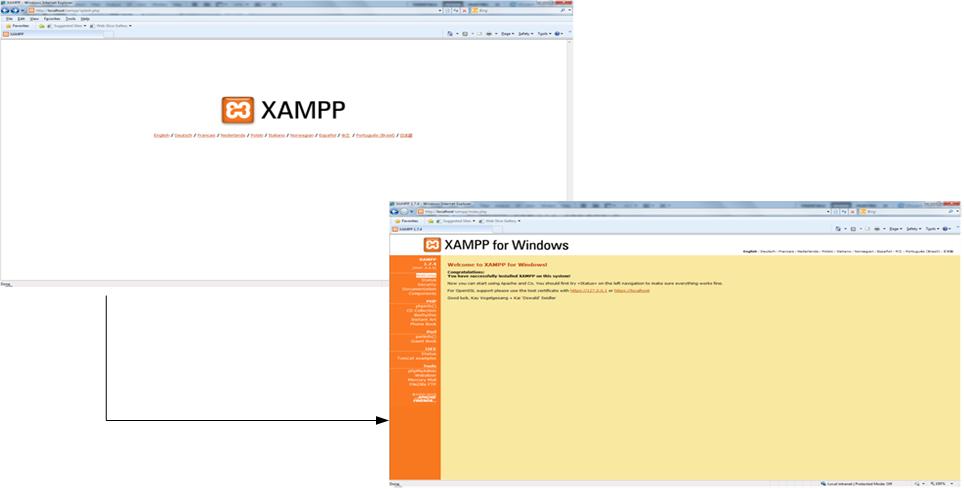
Some other features provided by the control panel are the Admin buttons provided next to each module running. The Admin button next to the Apache module takes us to the main page of the web server which in the case is a splash screen.


The splash page is a welcome page showing the different languages that the XAMPP dashboard is available in. This also tests that the http module is working correctly.


HTTP and HTTPS and other services

We already checked the http service when navigating the Admin button from the control panel and ended up in the XAMPP welcome page. On entering the index page two notifications were brought to our attention which stated to check the status and to use the test certificate. When I checked the status I noted that the MySQL service was not activated so I navigated to the earlier mentioned path to call mysql_start.bat to start the service.


So now we know which services are online. The XAMPP status page showed us that the HTTPS service is running and to verify we must browse the main page using https as a protocol instead of http. Thus the URL is https://localhost/. The result from the mentioned request yielded a security message since the certificate is untrusted.


FTP Service

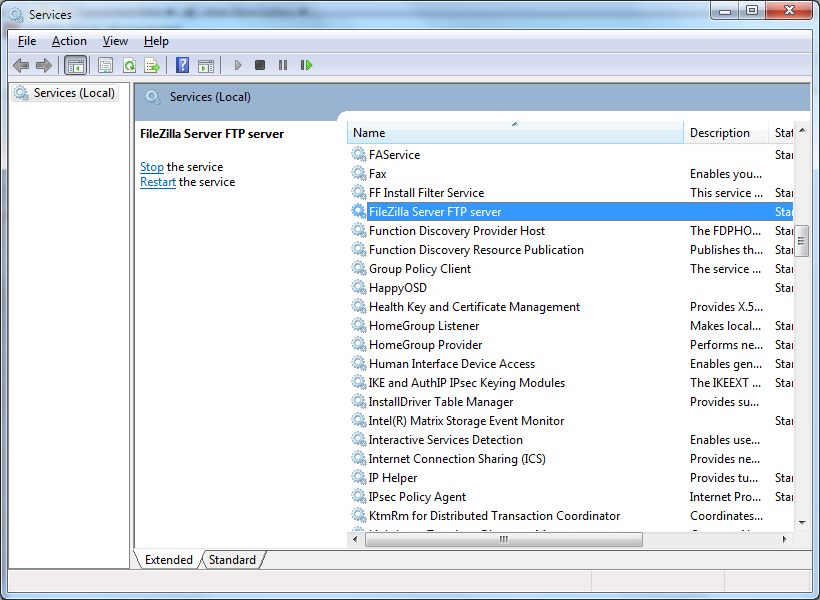
If we look closer to the XAMPP status page we see that the FTP service is enabled. To test the FTP service we must make use of the service by sending or downloading files from the server. For the purpose of this task we will be using FileZilla FTP which is part of XAMPP and is already installed. In the XAMPP tools section there is a link with some guidelines on how to setup FileZilla. First of all the module must be installed as a windows service. This can be checked by typing services.msc in the windows start menu search box and look for FileZilla FTP.


When the module is installed two users are set by default which are;


User NamePasswordDefault Directory
newuserwamppxampp\htdocs
anonymousblank passwordxampp\anonymous


To log in one of the accounts and test the FTP service we are going to use the ftp client that comes bundled with windows. 


To list the existing files in the directory for newuser the dir command is used


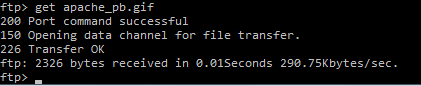
To download a file we use the get command as shown in the image below;


To send a file to the user directory we use the put command;


XAMPP Security Report

The security report gives the security status of the XAMPP implementation. By default every XAMPP installation is configured to be as open as possible since XAMPP is targeted for development mostly. This screen shot shows the current security status of our XAMPP implementation.


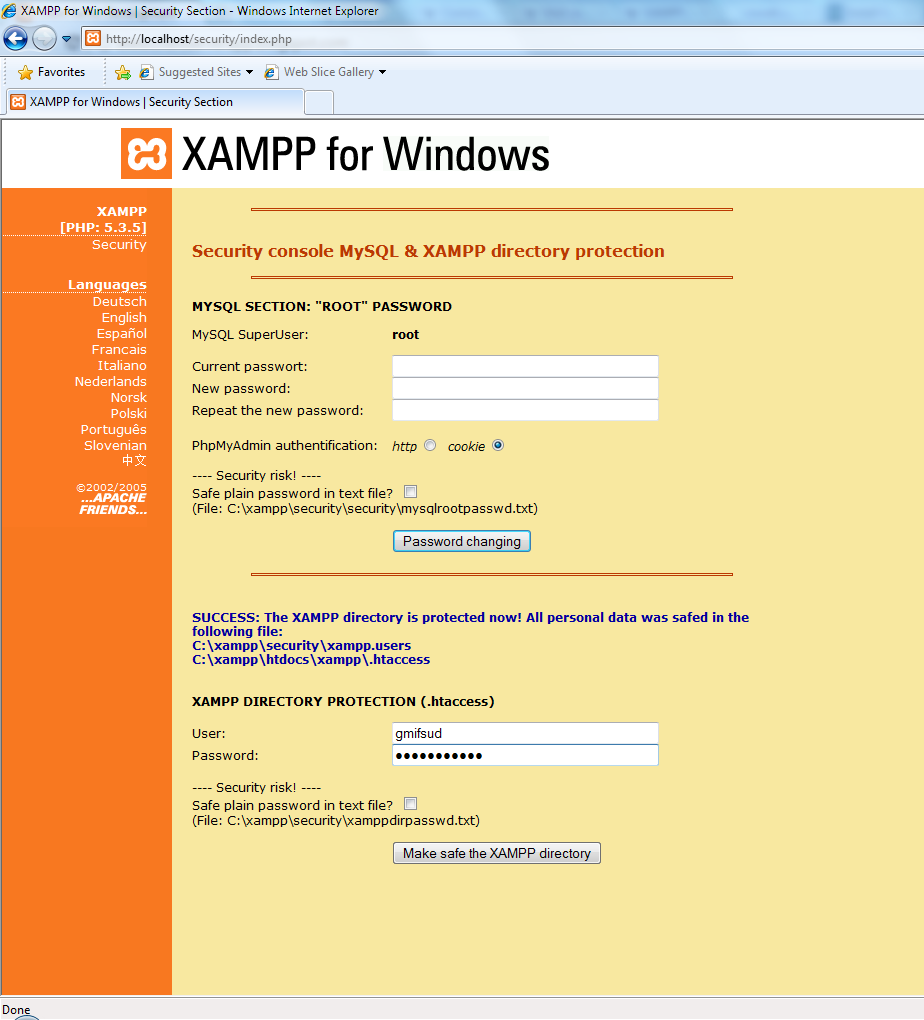
As you can see most most of the default security holes which come by default with every XAMPP implementation are there with the exception of MySQL since I changed the root password. The first three issues can be resolved by clicking on a link provided in the security status page. The link redirects us to a page were we can provide password for MySQL and the .htaccess file.


So at this point the only remaining issues are;

  • FTP password for newuser user
  • PHP not running in safe mode

To change a user password of an FTP account the FileZilla server can be used to access the user settings panel. From the screen the password for any user can be changed to that agreed upon and then click OK.


The last problem related to PHP not running in “safe mode”. In the current environment since we are using this implementation for development, it is recommended not to implement the “safe mode” configuration since important functions will not be working.


PHP phpinfo() report

PHP provides a great way to obtain the modules and libraries in the current environment which are at our disposal when creating a PHP script. This is all thanks to the phpinfo() function. 


In any php info report the following sections are available;

  • PHP version number
  • Server information
  • Build Date
  • Configure Command - used to determine which modules are installed in the current implementation
  • PHP Core - a list of variables and values which can be useful when trying to obtain values making up the PHP core configuration such as upload file size or upload directory
  • Server Information - Information about the server on which PHP is installed and HTML headers
  • Modules - Information about modules attached to PHP
  • PHP Variables - a list of request, cookie, server and environment variables such as http user agent which is the browser opening the php info report

XAMPP by default provides us with a link to call phpinfo() under the PHP section.


Get A Visitor Report

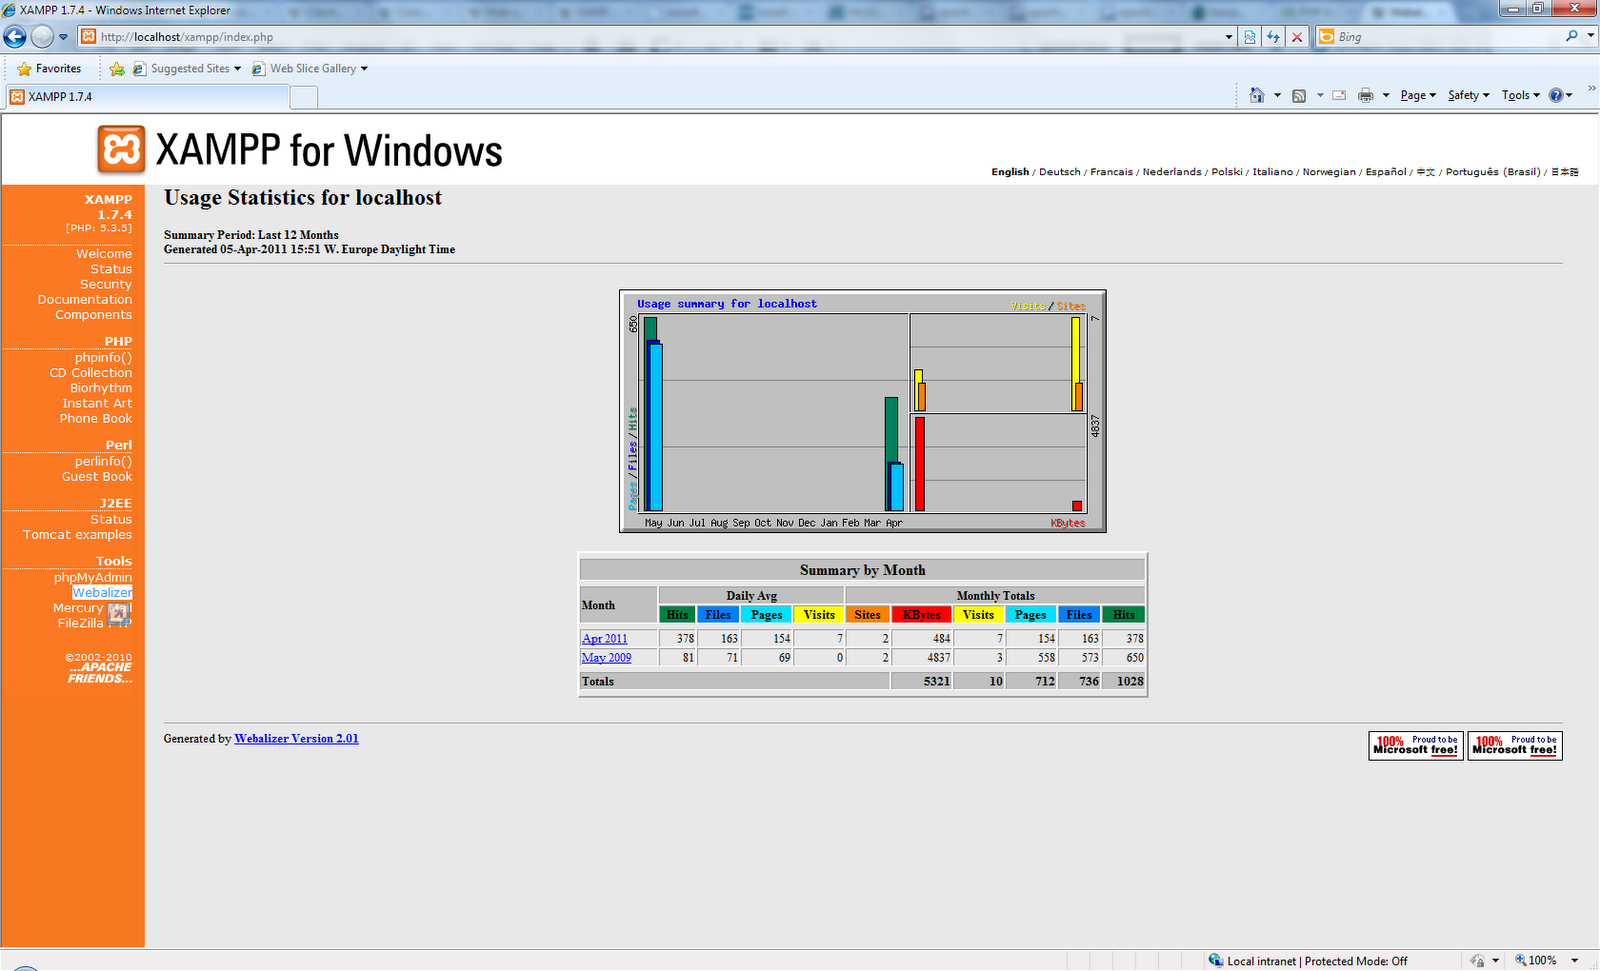
With the XAMPP implementation a tool called the Webalizer is available from the navigation menu. This tool provides the web master with access and usage logging information pertaining to the web server such as number of hits on the server at a given month. The statistical information is also displayed as a graph. The webaliser is found at the following directory on installation; xampp\webalizer.

These are some of the terms analysed by the Webalizer;

  • URL - identifies the resource requested by the user
  • HIT - A counter which counts the number of resources (Images/Pages) accessed by users.
  • Page - Accessing a page will register as a page count


Test the default Guest book

The Guest Book is also found on the navigation menu in the XAMPP dashboard under the Perl sub-navigation heading. The guest book shows an example of how a Perl application can be implemented on XAMPP. A new entry can be entered in the phonebook and by clicking on WRITE the guest book is tested for new entries. The location of the guest book script with regards to files location can be found at xampp\htdocs\xampp.


Apply image and stylesheet to xampp\htdocs\index.html


To perform this task we will be working in the xampp\htdocs folder. This folder resides in what is know as the root folder and this folder has the appropriate directory permissions to provide access to users browsing to the web page. The image below shows the access given 


The image below shows the result from browsing to http://localhost/xampp/index.html.


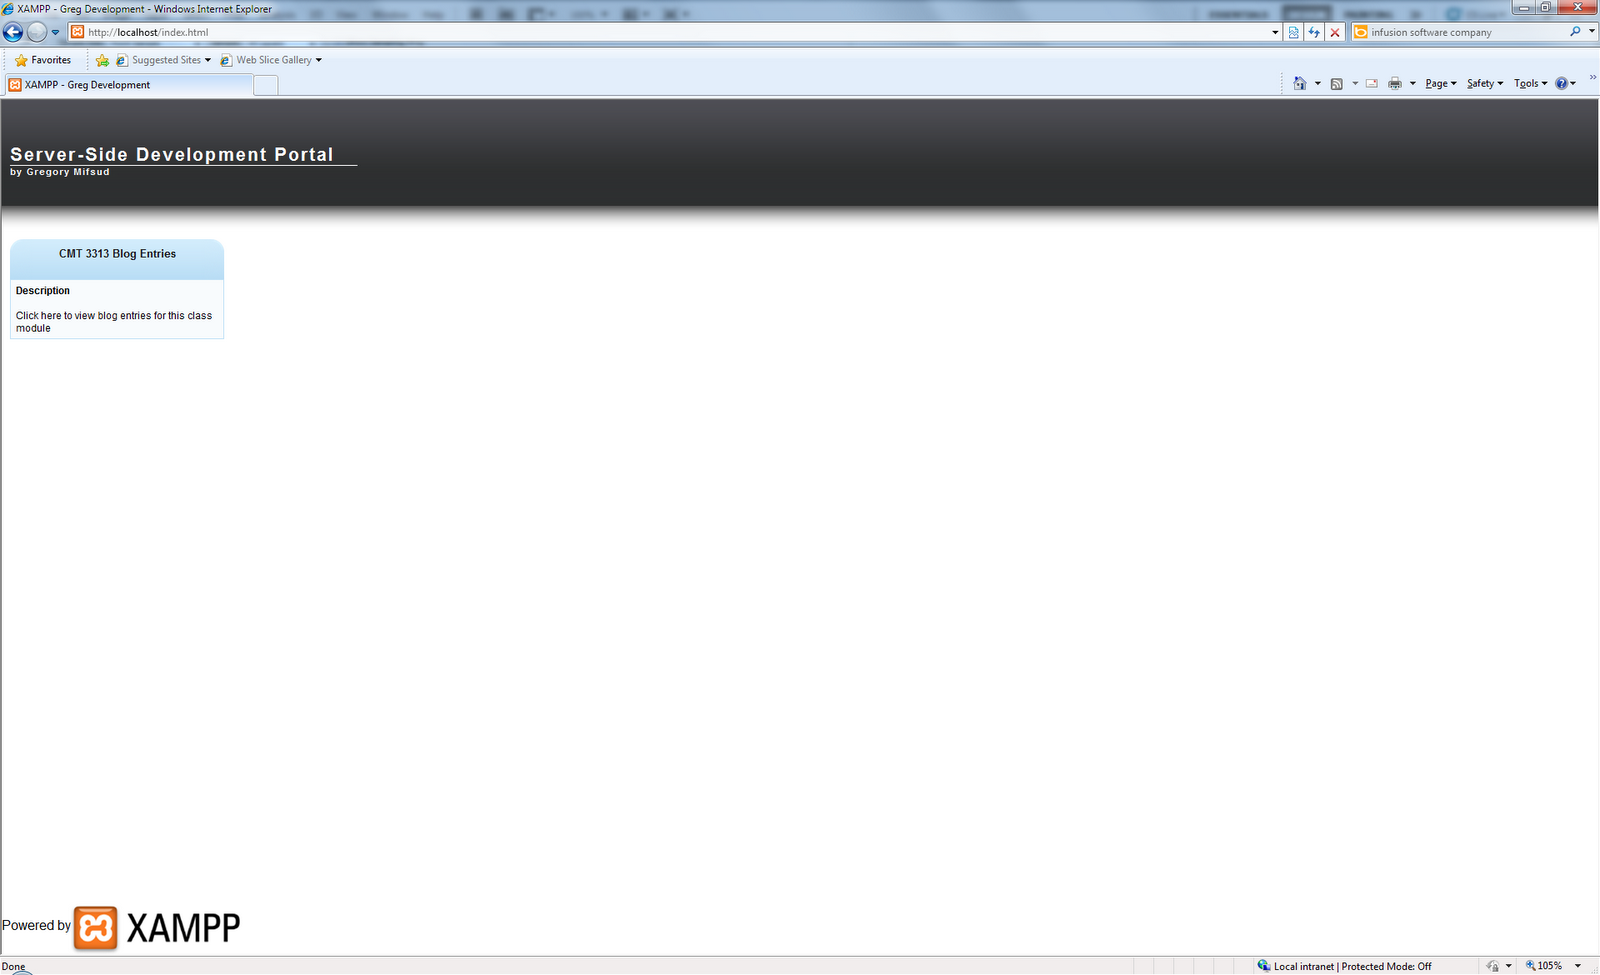
After changing the html to give some structure ,content and style  to the document the end result looks like shown in the image below.


Test web server from another computer


To test the web server from another computer I used Firefox as a browser from a networked pc with an installation of Linux Ubuntu. The web page loaded successfully when submitting the following url: http://gsd-gmif-03/index.html


Replace files on the root directory using an FTP client from another computer


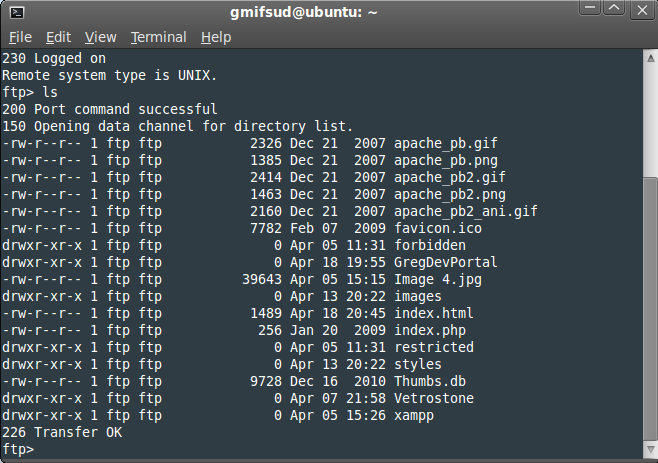
To replace files on the root I decided to use the same machine I used to test the web server. Since Ubuntu has an FTP client developed by Gnome I decided to the use the terminal to log into my ftp server using newuser and listed the files in the server root by typing the ls command.


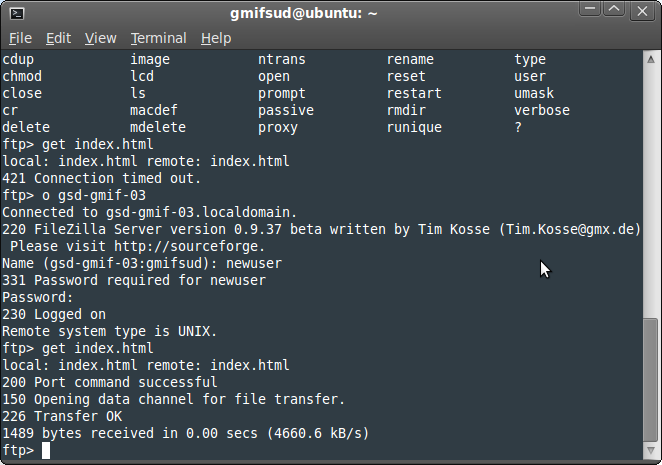
Dowloaded index.html by entering get index.html


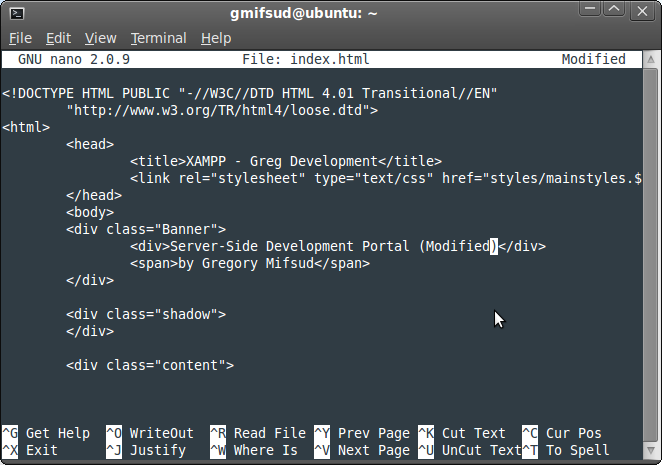
Opened the downloaded file using nano texteditor and edited part of the text in the index.html file.


Saved the changed file and uploaded the file to the server using the FTP client.


Once the file was uploaded I navigated to the url http://gsd-gmif-03/index.html to check whether the change in the html file was visible. 


Conclusion


My take on XAMP is that it is a very efficient tool when it comes to creating a development environment since it is somewhat easy to set up. On the other hand XAMP can be dangerous when used in a production environment. The Apache-PHP-MySQL combo cuts down on installation and configuration time which as already stated makes it efficient to use for development and testing. Some of the disadvantages which are encountered when installing XAMP are security related such as cross-side scripting and the lack of passwords on phpAdmin and the FTP server.